How To Make Homemade Wrinkle Cream

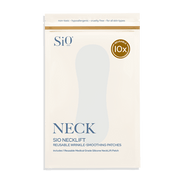
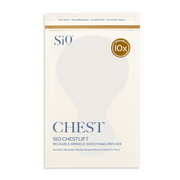
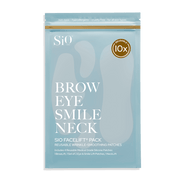
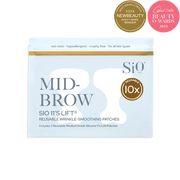
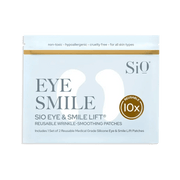
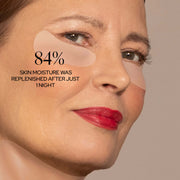
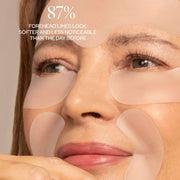
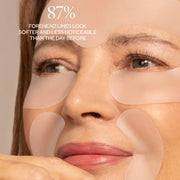
Wrinkle creams are a great way to fight the signs of aging caused by sun damage, free radicals in the body, and pollutants in the air. They leave your skin with a radiant glow and are much less invasive than fillers and injections. While, wrinkle creams may not be as effective as skin pads, but they can be a helpful supplement.
An effective wrinkle cream can be made at home in less than half an hour. Here’s how to do it.
The ingredients you’ll need
- Almond oil: ¼ cup
- Coconut oil: 2 tablespoons
- Beeswax: 2 tablespoons
- Vitamin E oil: ½ teaspoon
- Shea butter: 1 tablespoon
- Essential oil: 2 drops (optional)
Combined, these ingredients yield about ½ cup of wrinkle cream.
Before we get into the process of making the wrinkle cream, let’s examine what each ingredient does.
Almond oil

Almond oil is a natural emollient. It revitalizes tired skin, smoothes, softens, and reduces coarse and rough patches, and promotes a more even skin tone. Almond oil is so effective, it has been used as a beauty aid, and for its health benefits, for thousands of years.
Coconut oil

Coconut oil contains natural antioxidants. Antioxidants protect the body from free radicals which can breakdown the collagen and elastin that gives the skin its tight, youthful appearance. In addition, antioxidants have been shown to have significant anti-aging properties.
Beeswax

Beeswax is a well-known anti-inflammatory. When applied to the skin, it works to reduce the inflammation caused by free radicals, sun damage, and air-borne pollutants.
Vitamin E oil
Vitamin E oil is a powerful antioxidant. Like coconut oil, vitamin E works to fight the free radicals in the skin that can lead to wrinkles. You can purchase vitamin E oil online or in most stores where vitamins are sold.
Shea butter

Shea butter is another substance that exhibits excellent anti-inflammatory and collagen-boosting properties. Shea butter is extracted from the nuts of the West African shea tree. When applied to the skin, it can also moisturize, hydrate, soften, and smooth.
Essential oil
Essential oil is oil extracted from any number of common plants. Well-known essential oils include lavender, lemon, peppermint, tea tree, and frankincense. While they have been shown to exhibit various health benefits, they are included in this recipe for the sole purpose of adding fragrance to the mix. You can choose to add your favorite scent or leave it out completely.
10 Steps To Making Homemade Wrinkle Cream
Before we dive into to making our homemade wrinkle cream, here are the tools you’ll need to keep handy:
- Stove
- Medium pot
- Glass jar
- Small mixing spatula
- Small glass storage jar with lid
- Measuring spoons
Step 1: Find a clean glass jar
A canning jar works best. Is it absolutely necessary that you use a canning jar? No, but you will be immersing the jar in hot water during the mixing process and canning jars are made to withstand high temperatures without breaking. In this case, it’s better to be safe than sorry. Be sure to wash the jar thoroughly before using.
Step 2: Measure ingredients and add to jar
Using the measuring spoons, combine your ingredients in the glass jar.
- Almond oil ¼ cup
- Coconut oil 2 tablespoons
- Beeswax 2 tablespoons
- Vitamin E oil ½ teaspoon
- Shea butter 1 tablespoon
- Essential oil 2 drops (optional)
At this point, a number of the oils may be in a solid, or semi-solid state. This can make mixing difficult. Don’t worry about trying to blend everything together. That will be done after heat is applied in one of the next steps. Just place all the ingredients in the jar and move to step 3.
Step 3: Put water in a pot
In a pot that holds at least 10 cups, pour 5 cups of water. Place the jar with the ingredients in the pot. Make sure that when the water level rises, it doesn’t spill over the lip of the jar. Then, remove the glass jar from the pot.
Step 4: Heat the water
With the stove burner set between medium and medium-high heat, and the jar outside of the pot, bring the water to a simmer and keep it there.
Step 5: Place the glass jar in the pot
Place the glass jar containing your ingredients in the simmering water. Use a hot pad or a towel to keep your hands from burning.
Step 6: Melt the ingredients
Leave the glass jar in the simmering water for 5 minutes or until all the ingredients have melted together. As the mixture begins to soften, stir occasionally with the small mixing spatula to ensure an even ingredient distribution.
Step 7: Remove the glass jar from the pot
After 5 minutes of heating and stirring, the ingredients should be completely mixed. Remove the glass jar from the simmering water. Be sure to use a hot pad or towel when removing the glass jar from the stove.
Step 8: Pour mixture into storage jar
Using the small mixing spatula, pour the creamy mixture into the glass storage jar. This glass storage jar will be where you store your cream for daily use.
Step 9: Let the mixture cool
Allow the glass storage jar to sit at room temperature without its lid until the mixture hardens. While your cream is cooling, wash the glass jar and the mixing spatula.
Step 10: Cover and store for future use

When the mixture has cooled and congealed into a creamy glob, cover the glass storage jar with a lid and store in a cool, dry place.
Congratulations! You just made homemade wrinkle cream. Nice job.
What’s better than homemade wrinkle cream?
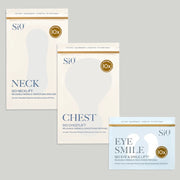
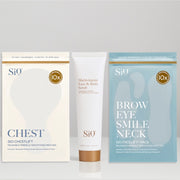
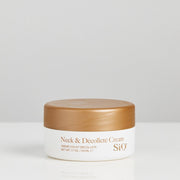
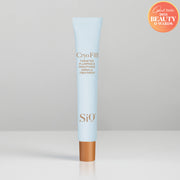
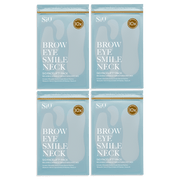
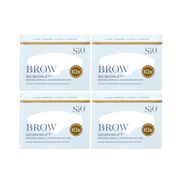
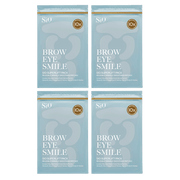
Making your own wrinkle cream a fun and somewhat helpful way to fight wrinkles. But if you want to take your skin quality to the next level you’ll need a professionally-made product. SiO Beauty’s 24-Hour System is specifically formulated to fight wrinkles that form on the décolleté. Simply cleanse the area with the décolleté cleansing discs, wear the SiO SkinPad overnight, and then apply the décolleté serum to truly hydrate, smooth, and brighten the skin. This is the most effective way to fight wrinkles without resorting to injections or surgery.


